Page 1 of 2
Sea King
Posted: Tue Jun 15, 2010 10:08 pm
by Simon
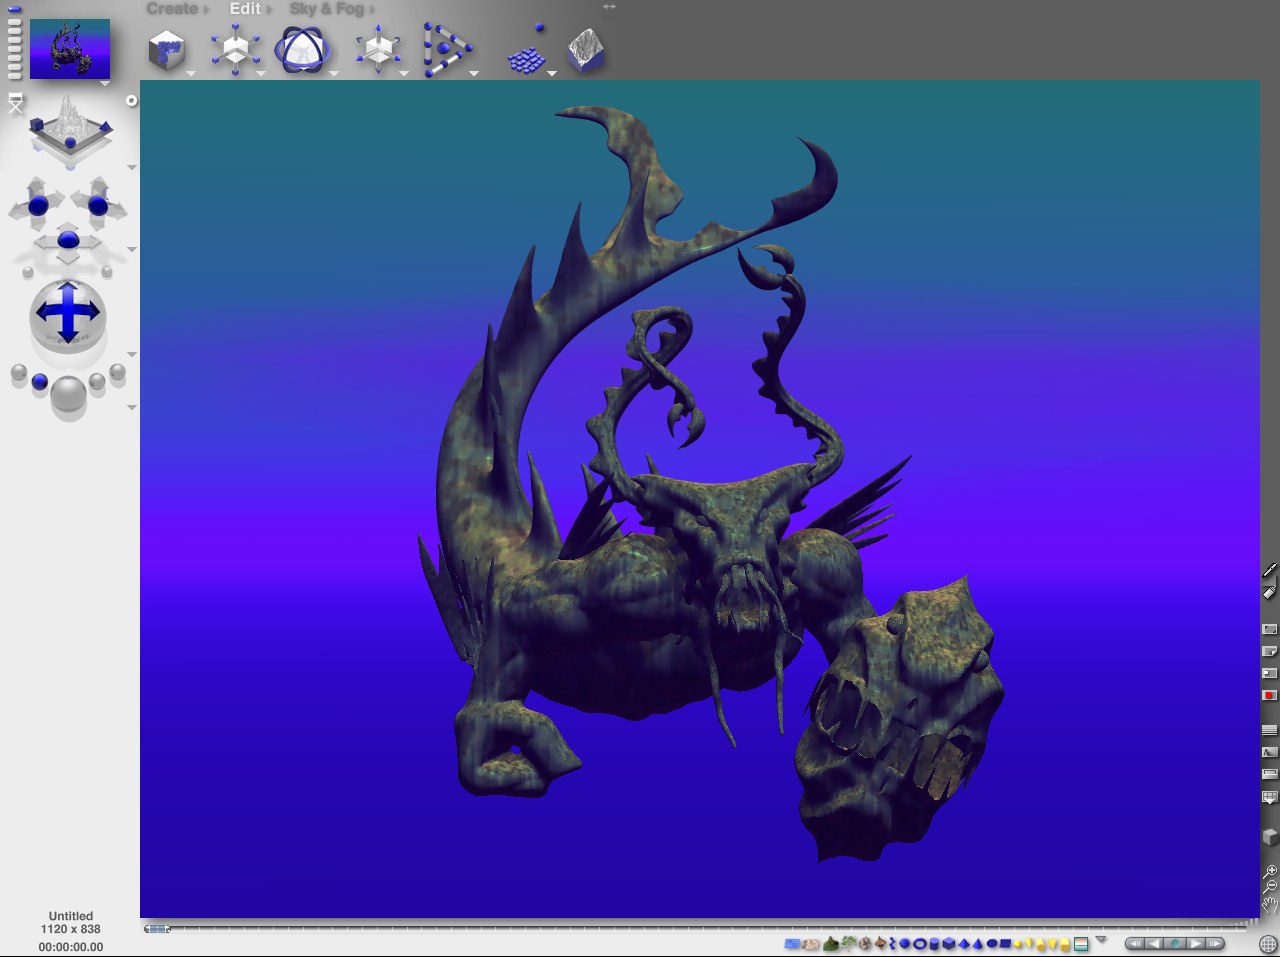
This is a model I made for an underwater competition - rendered in Bryce.
Timelapse Video - Making of SeaKing
Sculpting the Sea King's Head - Tutorial

Sculpted in just over an hour in Curvy. I took video of the process and Philip @ TheBest3D.com is hopefully going to craft it into some tutorials.

Posted: Wed Jun 16, 2010 7:08 am
by Mr.Nemo
That's really sweet. I look forward to seeing the video as well as the resulted tutorial!
Posted: Wed Jun 16, 2010 4:31 pm
by bigH

dude - good luck
Posted: Wed Jun 16, 2010 7:47 pm
by mykyl
Love it Simon.
Mike
Posted: Thu Jun 17, 2010 10:20 am
by Simon
Adding some background objects + lighting. Not a bad renderer given it is free!
Posted: Thu Jun 17, 2010 12:54 pm
by bigH
looking good - you should see Bryce 7 - they are adding so much
Posted: Fri Jun 18, 2010 3:41 pm
by Simon
Fish model inspired the reflective water under-surface

I've been pushed to try Terragen 2 too. So many fun apps to try out there!
Posted: Sat Jun 19, 2010 11:15 am
by sculptor
very effective
creature and the skin texture is great
i think the right hand of the main creature just looks like it could do with a little finishing
to complete a really good model.
i am interested in what method you used to get the depth of field

Posted: Sat Jun 19, 2010 8:28 pm
by Simon
I was using "The SwampThing" as inspiration, and he has very stumpy blocky hands and fingers, so I use that as my excuse

I made 3 copies of the image as layers, 1 with no blur, 1 with 3.5px blur, 1 with 5px blur. Then I painted on the alpha channel of the layers to hide and reveal blurred areas as necessary. That gave be a lot of control over where the blur happens and lets me play with the bluriness in a more artistic than scientific way.
Posted: Sun Jun 20, 2010 1:19 am
by sculptor
well I must apologize to the swampthing for making personal comments about its hand
Thanks for the info about your method it will be most useful to me

(bryce 5.5 DOF seeems a bit hit and miss)
Posted: Sun Jun 20, 2010 5:59 am
by Simon
I also used 2 Bryce renders, one with muted lighting and one with strong bright lighting and highlights. I used the same layer blending technique to control the light intensity - helped mostly on the rock formations, so I could have a brighter bit in the centre of the image, and dim out gradually round the corners.
Posted: Wed Jun 23, 2010 3:32 pm
by Simon
Might stop now
NB: The fish were fun to make using a new "Join" feature in Curvy Beta - I joined lots of fish into a single mesh, then I used the widget tools to twist the shoal all at once - much easier than hand editing 30 fish!
"Join" Also lets you put several meshes together so you can change their object properties all at once. It is the opposite of "Explode".
Posted: Thu Jun 24, 2010 6:42 pm
by sculptor
nice picture
join looks useful
Posted: Fri Jun 25, 2010 5:53 pm
by Simon
Philip @TheBest3D.com has put together a
Timelapse Video - Making of SeaKing
Posted: Sun Jul 11, 2010 6:56 am
by Simon