So - to begin I sketched some dummies. I loaded a good front & side sketch (Loomis has great ones) onto Cubes and drew the entire body with Lathes. Below is the Lathe for the torso, made with just three drawn curves.

Here is a dummy in a neutral pose matching the reference drawing.

To make my characters contrast with each other I scaled their dummies to make a tall strong figure and a shorter slim shape.

I could have used Bones to pose the models, but in this case just prefered to rotate the pieces individually. The only bits with more complicated deformation were the torsos - for these I used a large soft mask brush to select the shoulders and ribcage and just rotated that - producing a gentle bend of the backbone.
It is a lot easier posing these simple dummies than doing the same on a merged and sculpted model - as all the joints are just overlapping objects.

With the poses looking OK I continues to add some clothes and props. This is probably the most varied part of the sculpt - I used a wide variety of cutting and joining techniques to turn the simple lathes into more complex shapes and continuous skins - for example "Voxel Merge" and "Weld to Parent". I also used some new Curvy 4.0 tools like "Drop Curve to Surface" and "Slab with Holes".

Up to here everything is smooth and simple - effectively a detailed base mesh. You could take this into a dedicated sculpting program, or just continue in Curvy with the built in sculpting tools. Roughing up the surfaces and adding creases and definition helps the model look more natural.
You can see below where I have sculpted in details - the mesh automatically subdivides to add detail where you are sculpting.

The final model in clay shading -

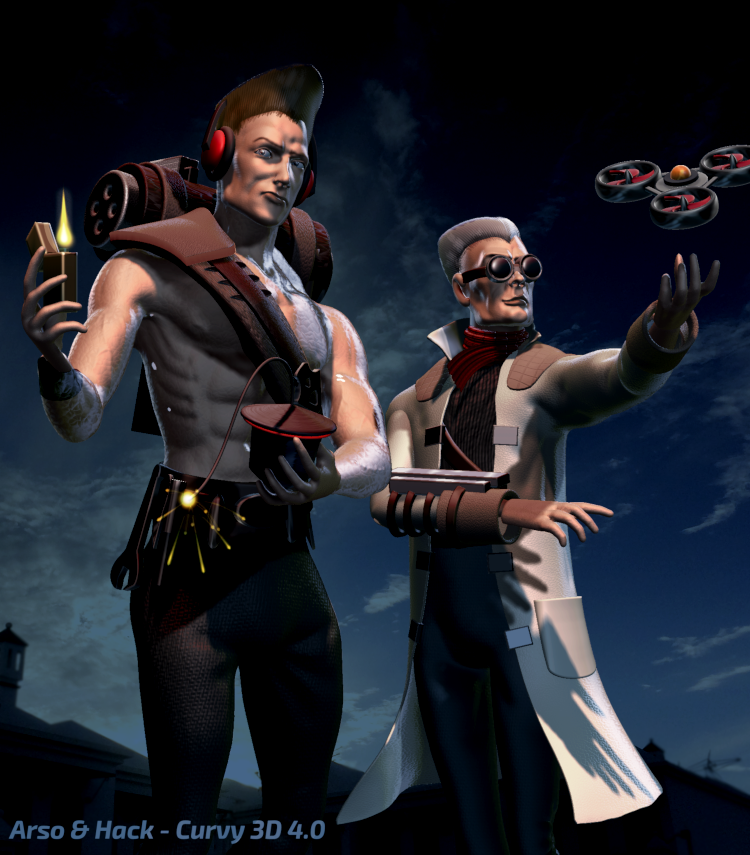
The final render - I rendered multiple screenshots of the same scene with different Lightmap and HDR settings, and composited the shots in 2D afterwards as well as adding a background and doing some colour correction. This made it easier to manage multiple lights and a strong backlight.
