in Curvy is a very versatile primitive. As well as being able to shape the traditional rounded shapes, it can also be used to shape asymmetrical organic forms.
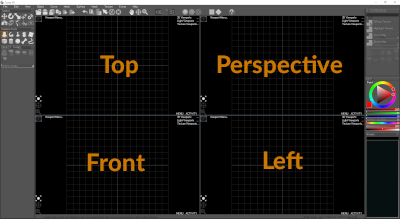
When drawing Lathes it is helpful to switch to the 4-View Layout (although it is possible to do all the drawing in a single Perspective view if prefered).
You can toggle between 1 and 4 views by simple clicking the little square in the top left.
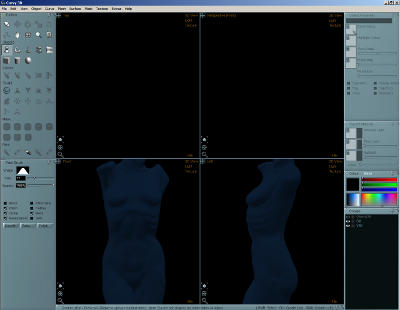
The following tutorials assume a 4 view layout. Note the layout of views below.
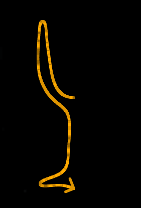
1.1. The Goblet
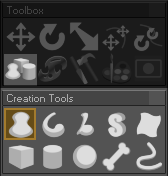
Choose the Create Lathe Tool.
Draw the line as shown in the
Front view. Don't worry if it is not quite the right shape, the curve remains freely editable to tweak and improve.
This is the simplest kind of Lathe object with only a single curve.
1.2. The Fang
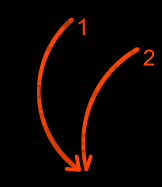
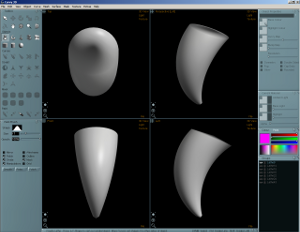
Choose the Create Lathe Tool, then draw two curves as shown below in the
Left view.
This will produce a rounded shape that fits to your two drawn curves.
If your curves are not smooth Curvy can redraw them smoothly for you. Right click on a curve to select it then pick from the menu - "Curve/Redraw As.../Ellipse Arc".
This will produce a smooth curve that fits you drawn curve.
If your curves don't line up at the pointed end, right click to select a curve abd choose the Soft-Move Tool and drag the end into position.
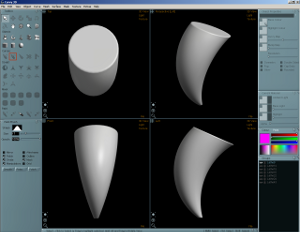
Also note the top of the fang is smoothly shaded. This was not the intention as I wanted a crisp cut-off at the top.
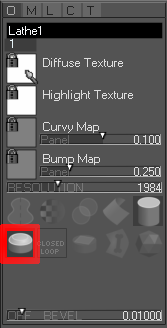
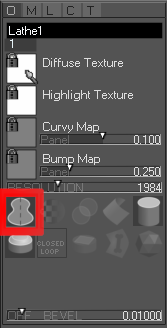
Untick "Rounded" on the Object Properties panel to flatten this off.
1.3. The Torso
This tutorial shows how to make the base shape of a torso, the shape before details are added with sculpting tools.
For this example I have loaded in a darkened image of the torso as reference into the Front and Left viewports.
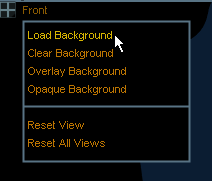
Hold down the left mouse button on the view's name in the top left to open a view menu, and pick Load Background if you have a suitable reference image to use.
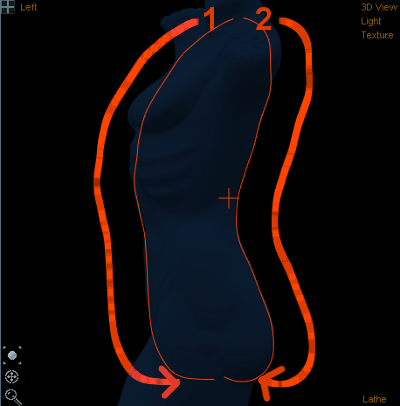
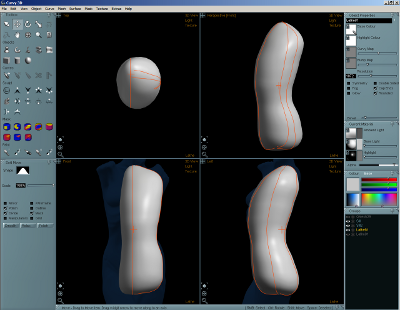
Next select the Create Lathe Tool and draw the curves shown below in the
Left view.
This produces a close match for the reference in the Left view.
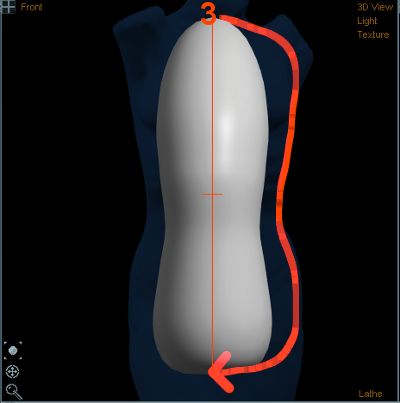
The next step is drawing the side profile in the
Front view.
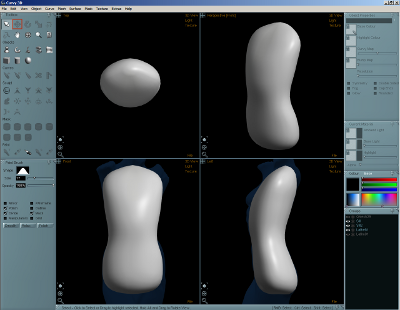
Now you could draw a 4th curve down the opposite edge in the Front view - or you could turn on Symmetry for the model.
Tick Symmetry on the Object properties
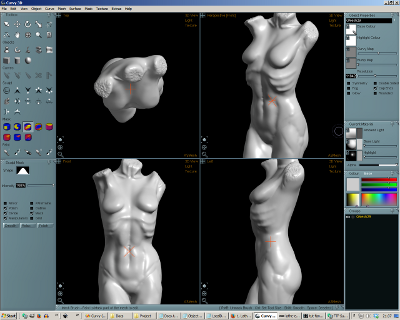
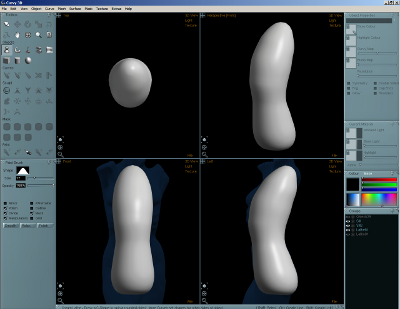
This mesh now closely matches the front and side reference pictures and won't need too much sculpting to finalise.
In this example I drew more Lathes for the neck, arms and legs and used "Mesh/Weld" to join them into a smooth mesh before sculpting.
See
"Mesh/Weld" reference.


