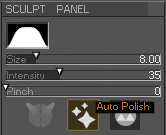
4.1. Set Tool Size
Drag to set the brush size for Sculpting and Mesh tools.
While using sculpting tools the brush size is shown as a dotted ring in the 3D view. The solid inner ring shows the falloff of the current brush - with a small ring showing a spike shaped brush, and a large ring a blunt flat brush.
Shortcut
Hold
Ctrl with a sculpting tool selected and drag to set the tool size.
4.2. Add
Sculpt by adding volume to create bumps.
4.3. Sub
Sculpt by subtracting volume to create dents.
4.4. Clay
Sculpt by adding volume to create smooth bumps.
Smooths the surface as it sculpts like adding clay worms and blending them in.
N.B. For best results increase the intensity to add more clay.
4.5. Clay Sub
Remove volume from surface while smoothing.
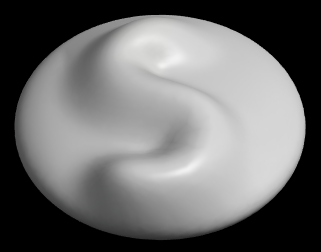
4.6. Groove
Cuts into the surface to a fixed depth.
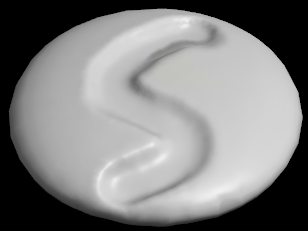
4.7. Step
Cuts into the surface on one side of the stroke and builds up the other side to make a step.
N.B. The direction of the stroke matters, for a step in opposite direction reverse the direction of your stroke.
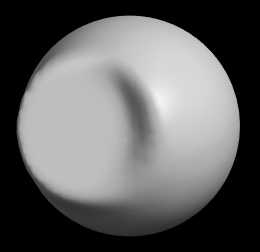
4.8. Pinch
Paint to Tighten and Shrink the surface along the stroke.
4.9. Inflate
Sculpt by inflating the surface. More rounded effect than 'Add'.
4.10. Deflate
Sculpt by deflating the surface. More rounded effect than 'Sub'.
4.11. Fill
Fills dips and holes in a model.
4.12. Flatten
Paint to flatten the surface.
Use the Right Mouse Button to draw with the Flatten Tool to Flatten to View.
Paint to flatten the surface towards the current viewport.
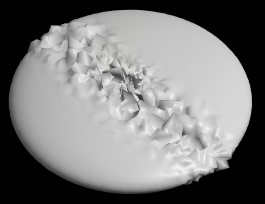
4.13. Noise
Paint to Roughen up the surface with random displacements.
N.B. For the roughest result you will need to disable the automatic polish that smooths out the other sculpting tools.
Just untick
Polish in the Sculpt Tool Controls.
4.14. Rounded
The the surface under the brush into a spherical shape.
Useful for making parts of the model rounder.
4.15. Flattened
Smooth the surface to a flattened shape.
With a low intensity is very helpful at softly smoothing out curved surfaces too.
4.16. Curved
Smooth the surface with a smooth curved form.
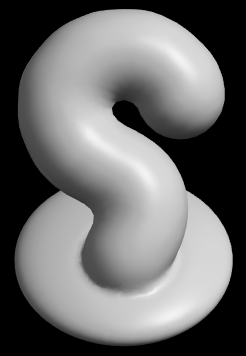
4.17. Pull Tubes
Drag out worm shaped extrusions from the mesh surface.
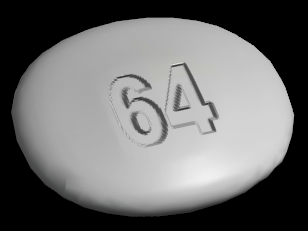
4.18. Custom Brush
Choose a (small) image to use as a stamp on your model. Click to place stamps of your image onto the mesh's surface.
You can reverse the effect and switch to an alternative stamping mode (Slice) in the options below the toolbox.
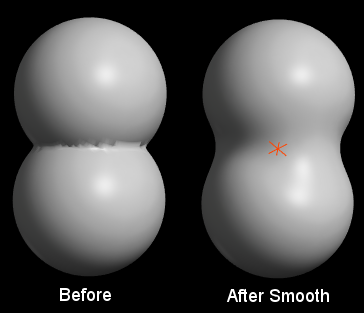
4.19. Smooth
Paint to smooth the surface. Elastic effect will tend to shrink the surface.
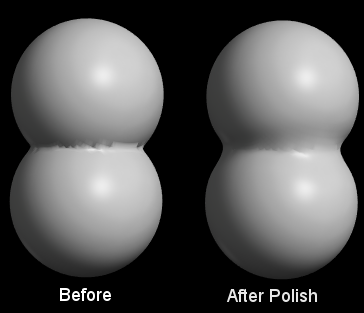
4.20. Polish
Paint to polish the surface. Improve surface curvature with little change to volume.
Polish has a more subtle effect than Smooth, fixing small defects while leaving the overall shape intact.
4.21. Paint Surface Colour
Colour the mesh vertices directly - does not need texture maps.
N.B. See the Painting Tools to alternatively paint texture maps.
Object shown above in wireframe (Press
A) to demonstrate that surface colour is set at the corners of each triangle on the mesh. This is different to texture mapping which sets a colour at each pixel of the texture image.
When Automatic Subdivision is turned on Curvy will add mesh detail where you use a small brush to paint the surface.
4.22. Smooth Surface Colour
Smooth the vertex colours.