8.1. Reselect
If you have deselected a mask this command will reactivate the last mask you used on the model.
8.2. Smooth
Slightly blurs the edge of the masked area.
8.3. Smooth More
Heavily blurs the masked area.
8.4. Invert
Swaps masked and unmasked areas of the mesh.
8.5. Solarise
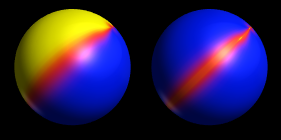
Selects the boundary between masked and unmasked regions.
8.6. Shapes
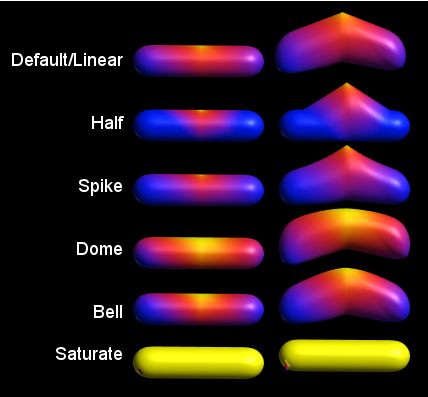
The "Mask by Distance" tool gives a linear falloff. By changing the contrast and distribution of the mask other shape falloffs are possible.
Half
Re-Masks only the top 50% of the original mask.
Spike
Darkens to the mask resulting in a sharp point falloff curve.
Dome
Brightens the mask producing a hemisphere shape falloff.
Bell
Adds contrast to the mask, resunting in a bell shaped falloff.
Saturate
Turns any part of the mesh even slightly masked to a full masked version. useful for turning a soft mask into a sharp edged one.
8.7. Mask by Curvature
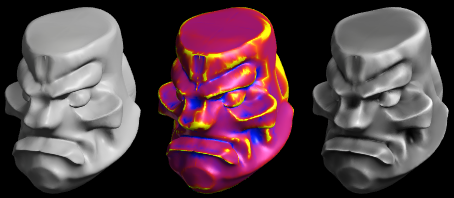
Sets mask value from the shape of the surface, with the sharpest spikes and creases most selected, and the deepest pits and sharpest crevaces left unmasked.
Above shown with "Surface/Mask->Colour" on the right.
8.8. Mask Interior
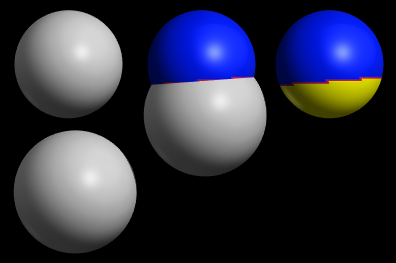
Masks parts of the mesh that lie inside other parts - overlapping parts of the mesh.
This is useful for cutting up meshes.
8.9. Mask From Children
Masks the part of a mesh that lies inside a child of that mesh.
Again, useful for clipping bits of a mesh ready for Stitching.
8.10. Mask Boundary
Masks edges of a mesh. Typically masks a loop around any holes in the mesh.
This can be helpful in detecting holes in the mesh.
8.11. Expand Boundary
Grow mask to include nearby vertices
8.12. Select Connected
Grow mask to include all points connected to the current masked area.


