Masking selects part of a mesh's surface to be affected by the subsequent tools and menu commands.
You can modify a mask using the
. You can convert the other primitives into
.
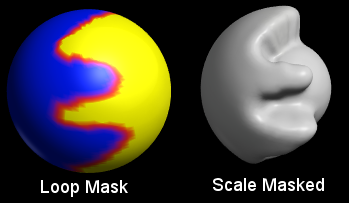
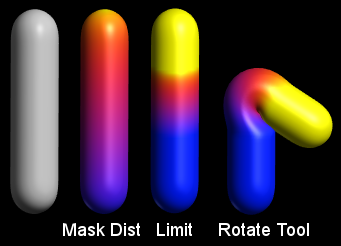
While a mask is active the surface is coloured yellow where selected, and blue in the unselected parts. You can disable this colouring with the menu command "View/Show Mask".
Press
to remove all masked parts of the mesh. This is useful for cutting meshes up.
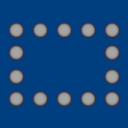
7.1. Mask Rect
Drag a Rectangle to Mask part of the mesh to edit.
Hold
Shift to add to the current masked area.
Hold
Ctrl to subtract from the current masked area.
Makes a sharp edge mask - you can use "Mask/Smooth" to soften the edge of the masked area.
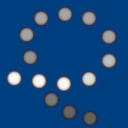
7.2. Mask Loop
Drag a Loop to Mask part of the mesh to edit.
Hold
Shift to add to the current masked area.
Hold
Ctrl to subtract from the current masked area.
Makes a sharp edge mask - you can use "Mask/Smooth" to soften the edge of the masked area.
7.3. Mask Brush
Paint to Mask part of the mesh to edit.
7.4. Unmask Brush
Paint to Remove Mask from part of the mesh.
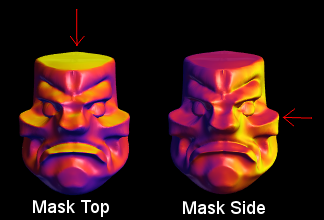
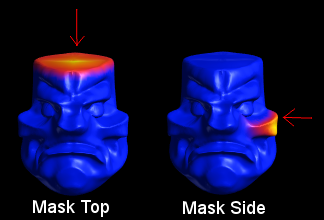
7.5. Mask Angle
Click to a select surface orientation, and Mask the mesh compared to that direction.
This is useful in tandem with the "Limit Mask" tool which clamps the mask to a tighter range.
With a Mask tool selected you can use the Right Mouse Button as a Shortcut to the Limit tool.
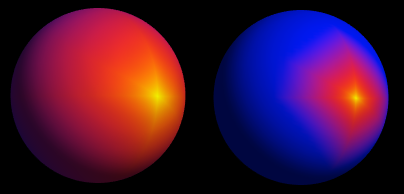
7.6. Mask Dist
Click to Mask mesh by distance to the clicked point.
This is useful in tandem with the "Limit Mask" tool which clamps the mask to a tighter range.
With a Mask tool selected you can use the Right Mouse Button as a Shortcut to the Limit tool.
It is also useful to select connected parts of a mesh when you want to avoid selecting other nearby parts.
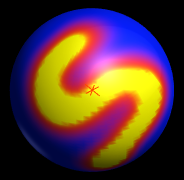
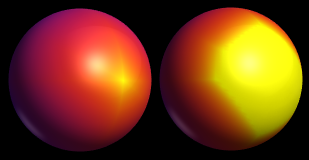
In the following example I used
Mask Limit and "Mask/Dome" to add contrast to the masked region.
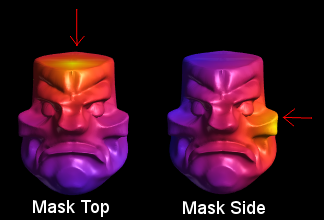
7.7. Mask AngleDist
Click to Mask nearby parts of a Mesh with a similar orientation.
This tool gives the tightest selection as it is controlled both by distance on the surface and surface angle.
It is handy for selecting flat planes in a model.
7.8. Mask Limit
Click to crop a smooth Mask to the clicked value. Useful for shrinking a Mask.
With a Mask tool selected you can use the Right Mouse Button as a Shortcut to the Limit tool.
You can achieve the opposite effect (enlarging the masked area) by first using "Mask/Invert", then using the Limit tool, then inverting back again.
Using regular and inverted Limits together increases your mask's contrast and gives you exact control of the mask's falloff.
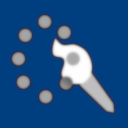
7.9. Select Connected
Expand the mask to all connected parts of the mesh.
7.10. Gradient Mask
Drag between two points to create a masked gradient.
This is great for setting up the model for a taper or skew using scale or move.
Also helpful to isolate a body part for posing.
As with the other masking tools, hold CTRL to subtract from the existing mask, or SHIFT to add to the mask to make more complex masked regions.